Installation Guides
At Bare Carbon, we craft parts with purpose — designed for those who appreciate precision, performance, and the finer details. While this guide offers general direction, we strongly recommend professional installation to ensure perfect fitment and finish.
To uphold the quality you expect, Bare Carbon cannot be held responsible for any damage or issues resulting from self-installation.
If you're not fully confident in the installation process, please visit your local trusted professional to ensure everything goes on smoothly and safely.
⚠️Pre-Install Tip: Clean and wipe all surfaces with alcohol wipes before installing parts.


Front Lip
1. Align the Lip
With help, lift the front lip into place under the bumper so both ends are flush and evenly aligned. Make sure to install splitters before installing the lip.
2. Temporarily Secure
Once properly positioned, use masking tape to hold the lip in place. This keeps it steady and aligned while you prepare to drill.
3. Drill Pilot Holes
Carefully drill through the pre-marked or natural mounting points on the lip into the underside of the bumper.
4. Fasten the Lip
Using provided hardware, secure the lip with self-tapping screws. Tighten evenly without over-torquing to avoid damage.
5. Final Inspection
Double-check alignment and hardware tightness to ensure the lip sits flush and securely across the entire bumper.


Side Skirts
1. Align the Side Skirts
Hold the side skirt along the vehicle to check alignment. Make sure it sits flush and follows the body lines evenly.
2. Secure with Tape
Apply provided 3M tape to the side skirts. Peel back a few inches of tape liner on both ends. Align the side skirts on the vehicle then slowly remove the remaining liner while pressing it into place.
3. Drill Mounting Points
Drill through the side skirt into the underside of the vehicle.
4. Fasten the Side Skirt
Insert provided self-tapping screws and tighten evenly; Avoid overtightening to prevent panel warping.
5. Final Inspection
Double-check all self-tapping screws and fitment. Make sure everything is flush, clean, and secure.

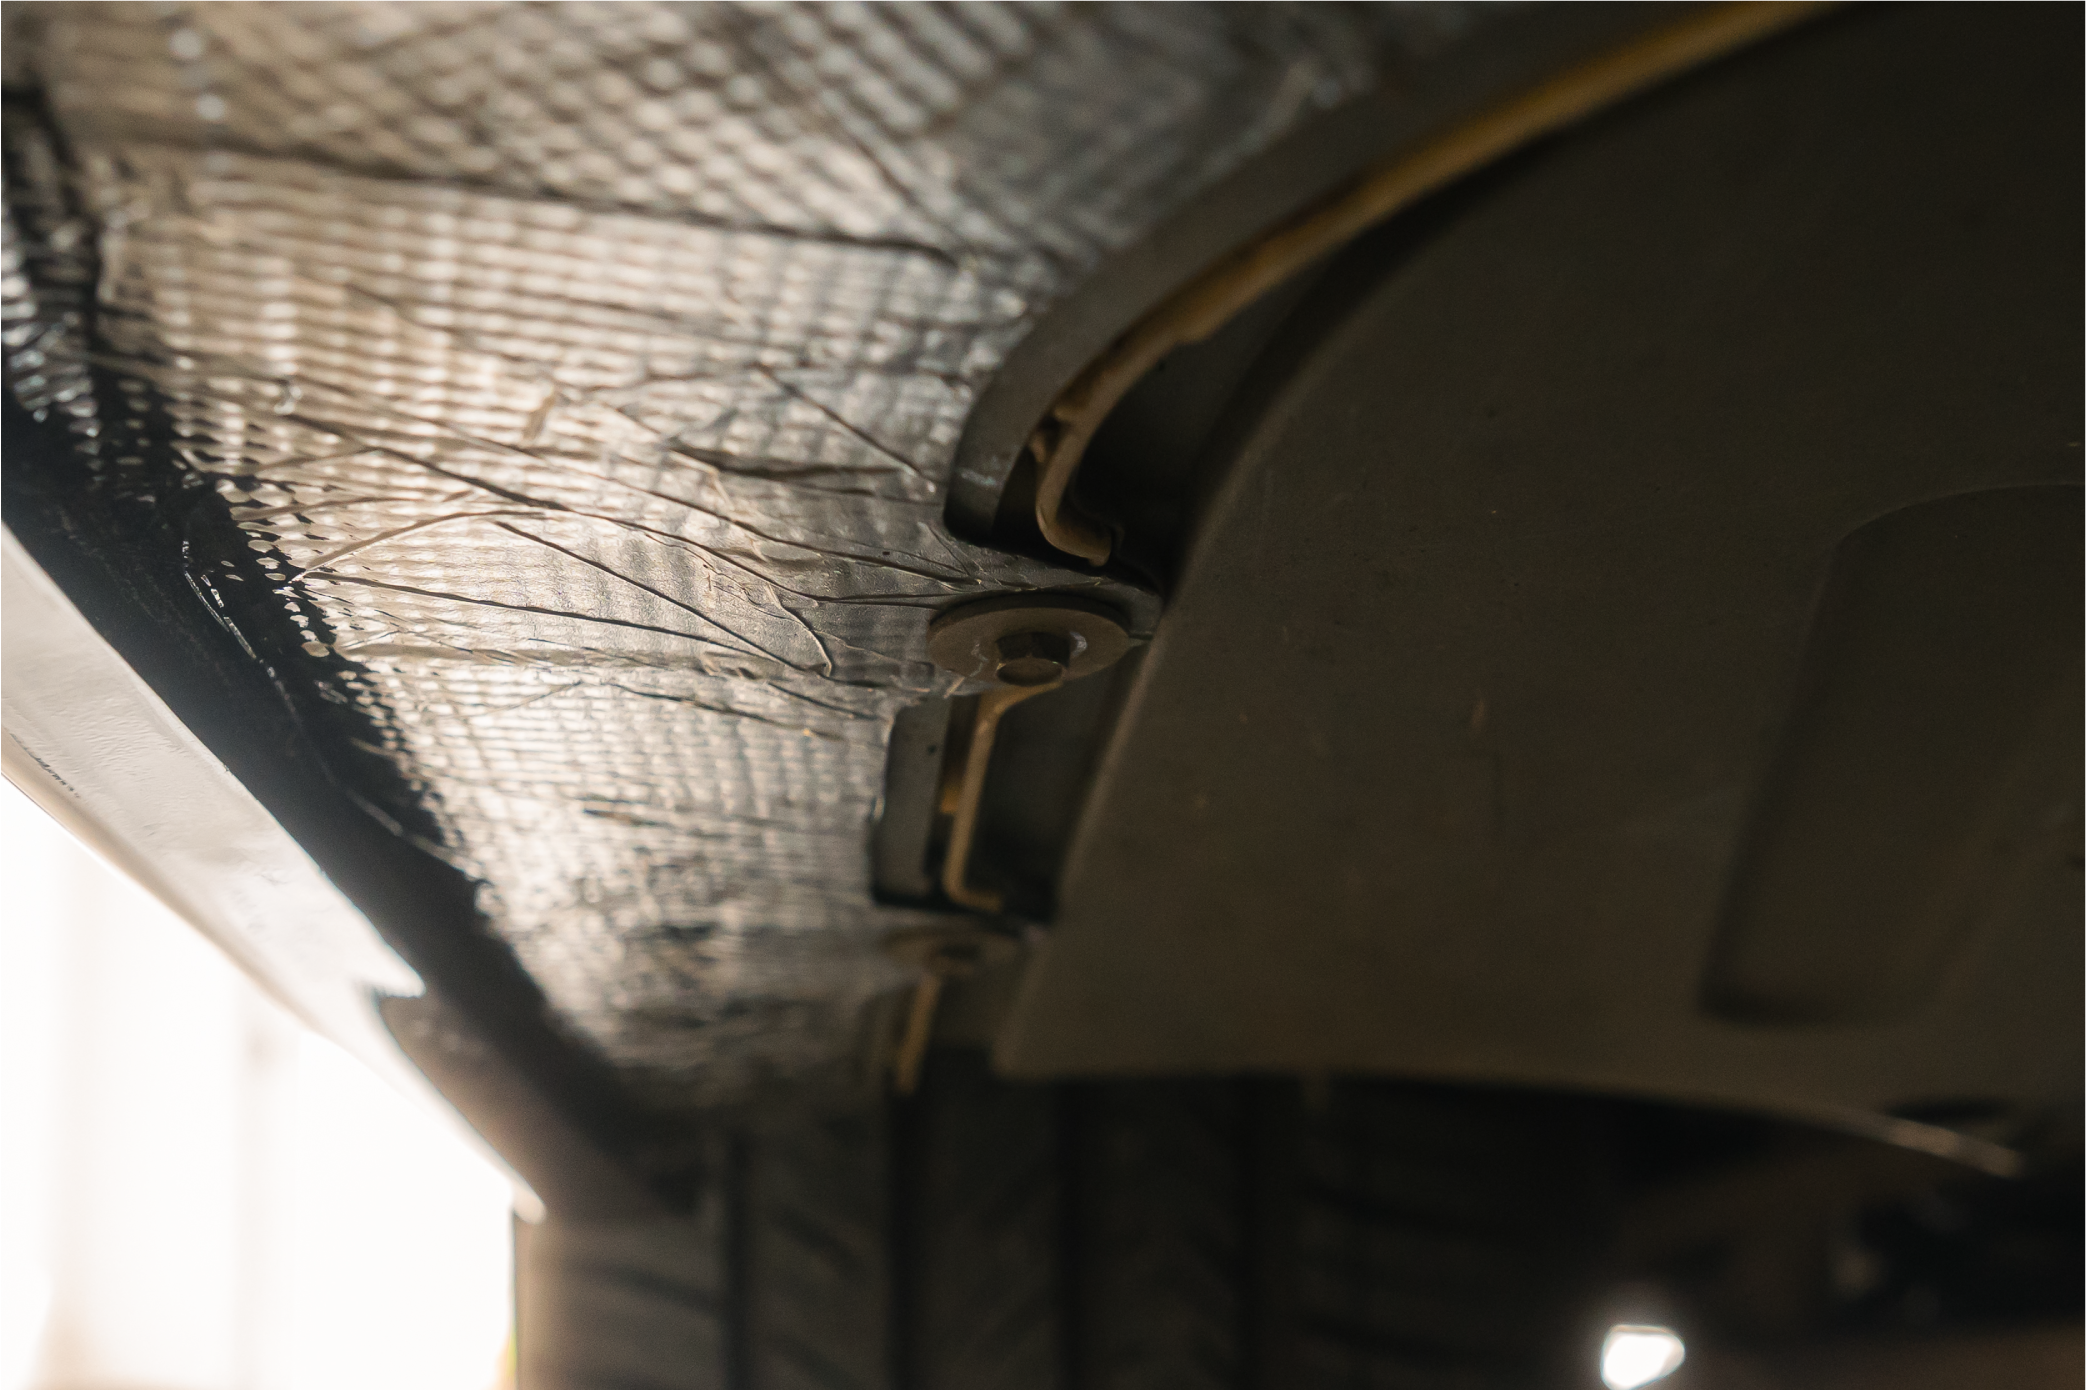

Rear Diffuser
1. Prep the Area
Jack up the rear of the car safely and ensure you have clear access to the underside of the bumper. Clean the mounting area to remove dirt, debris, or grease.
2. Test Fit the Diffuser
Hold the diffuser in place to check alignment and fitment. Adjust as needed so it sits centered and flush against the bumper. Use masking tape to mark your mounting position.
3. Mark and Drill Mounting Points
With the diffuser taped or held in place, mark your drill points evenly along the mounting tabs. Carefully drill through both the diffuser and bumper at these points.
4. Secure the Diffuser
Attach the diffuser using provided self-tapping screws, working from the center outward to keep alignment clean. Tighten evenly but avoid overtightening to prevent cracking or warping.
5. Final Check
Double-check fitment from all angles. Lower the car and admire.
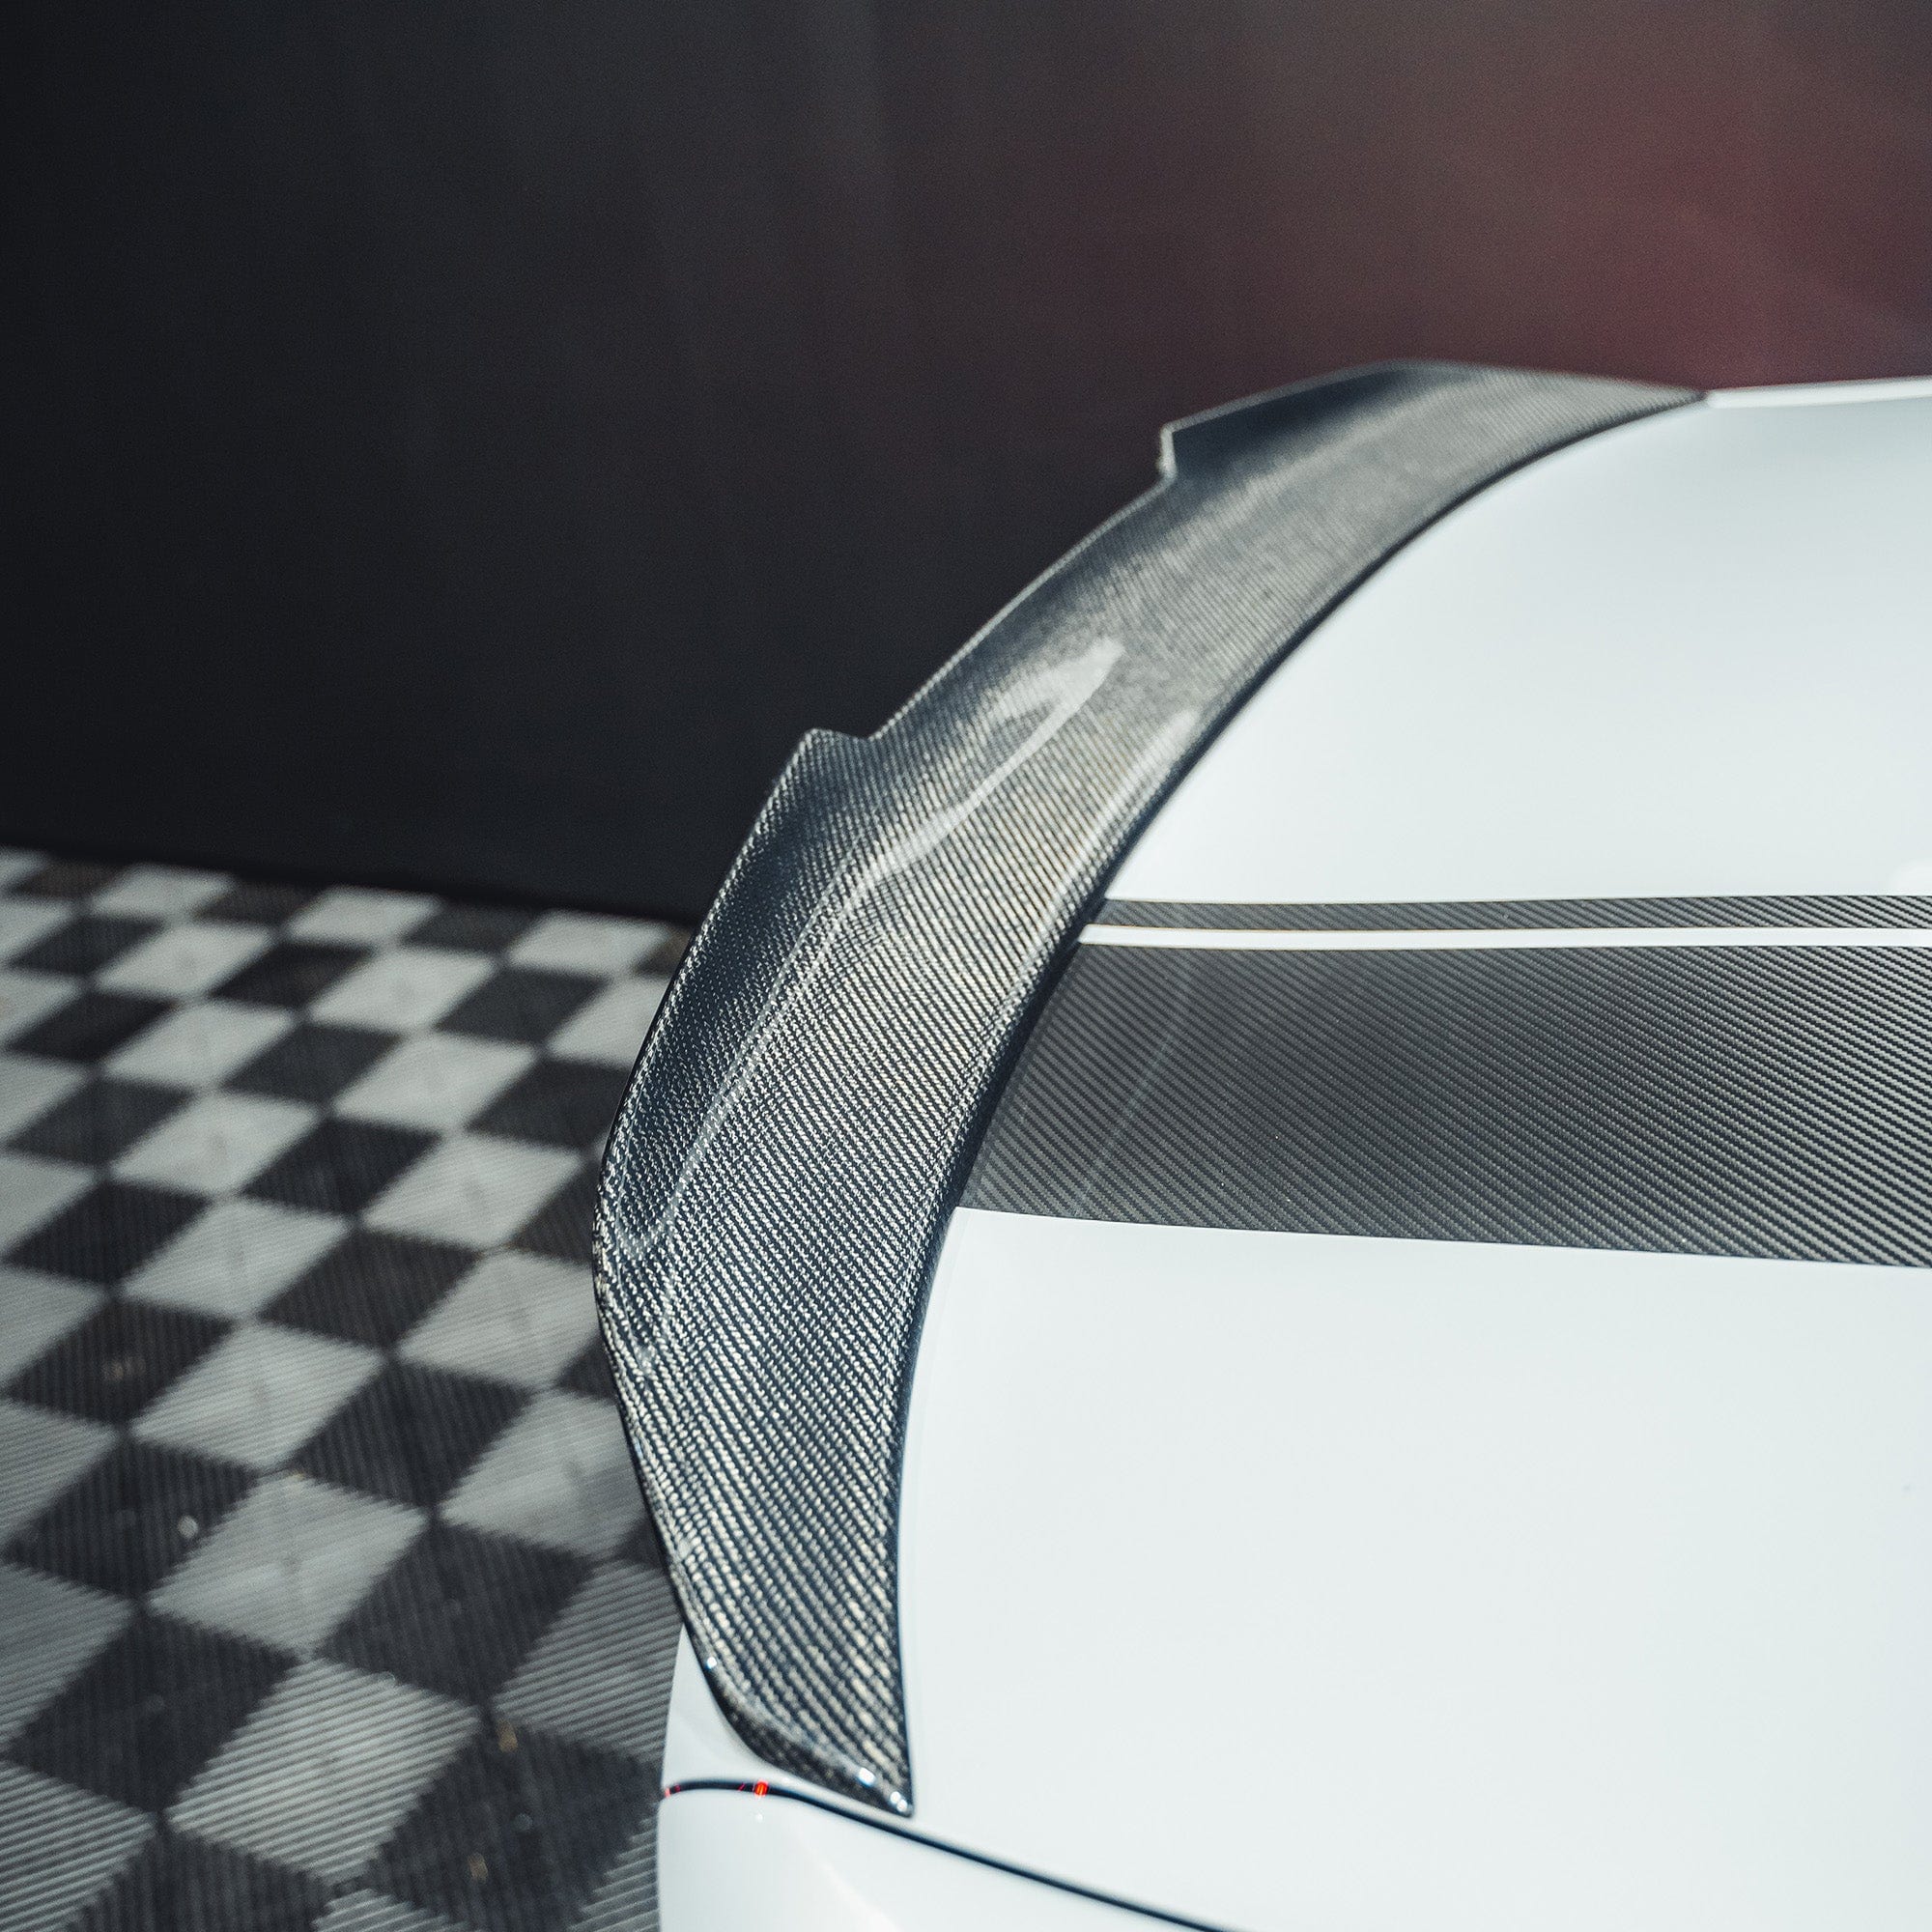
Rear Spoiler
1. Test Fit & Mark Placement
Place the spoiler on your trunk to check alignment. Once it looks balanced, mark the edges with masking tape to use as a placement guide.
2. Clean Both Surfaces
Thoroughly clean the trunk and the underside of the spoiler using isopropyl alcohol or a degreaser.
3. Apply Tape to Spoiler
Add provided 3M tape to the underside of the spoiler.
4. Mount the Spoiler
Peel back a few inches of tape liner on both ends. Align the spoiler using your tape guide, then slowly remove the remaining liner while pressing it into place.
5. Seal & Set
Apply firm, even pressure across the entire spoiler.
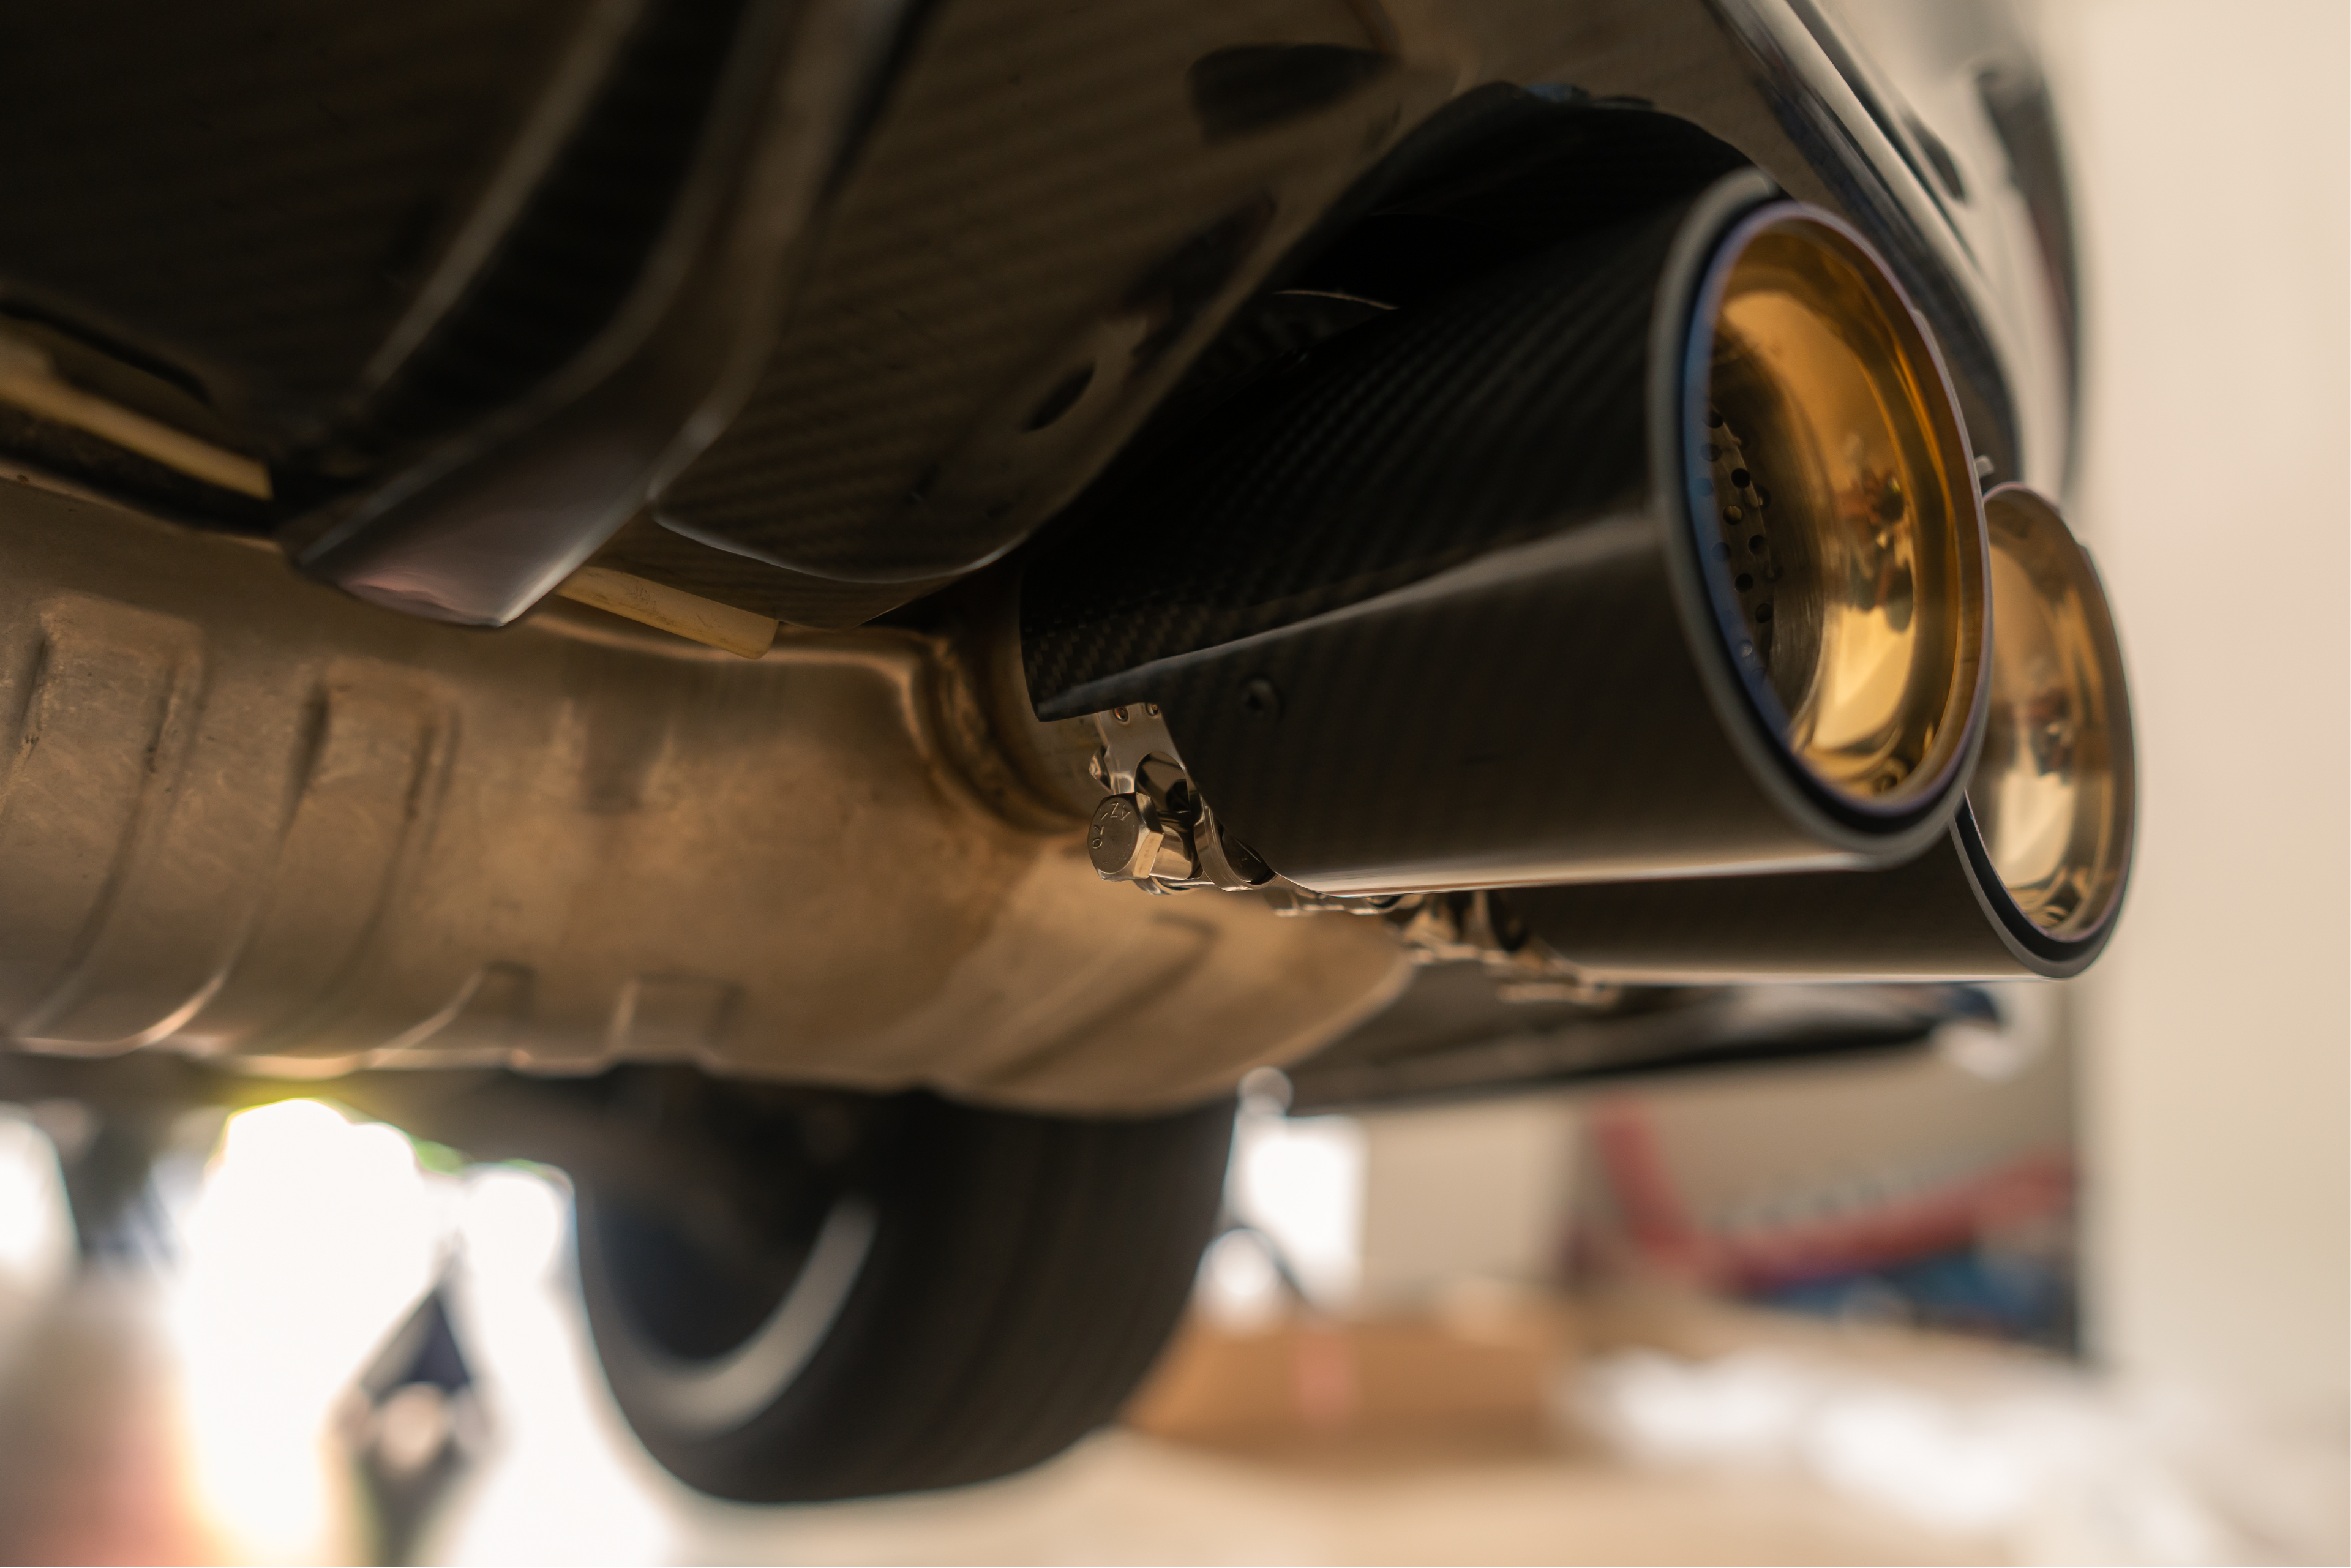
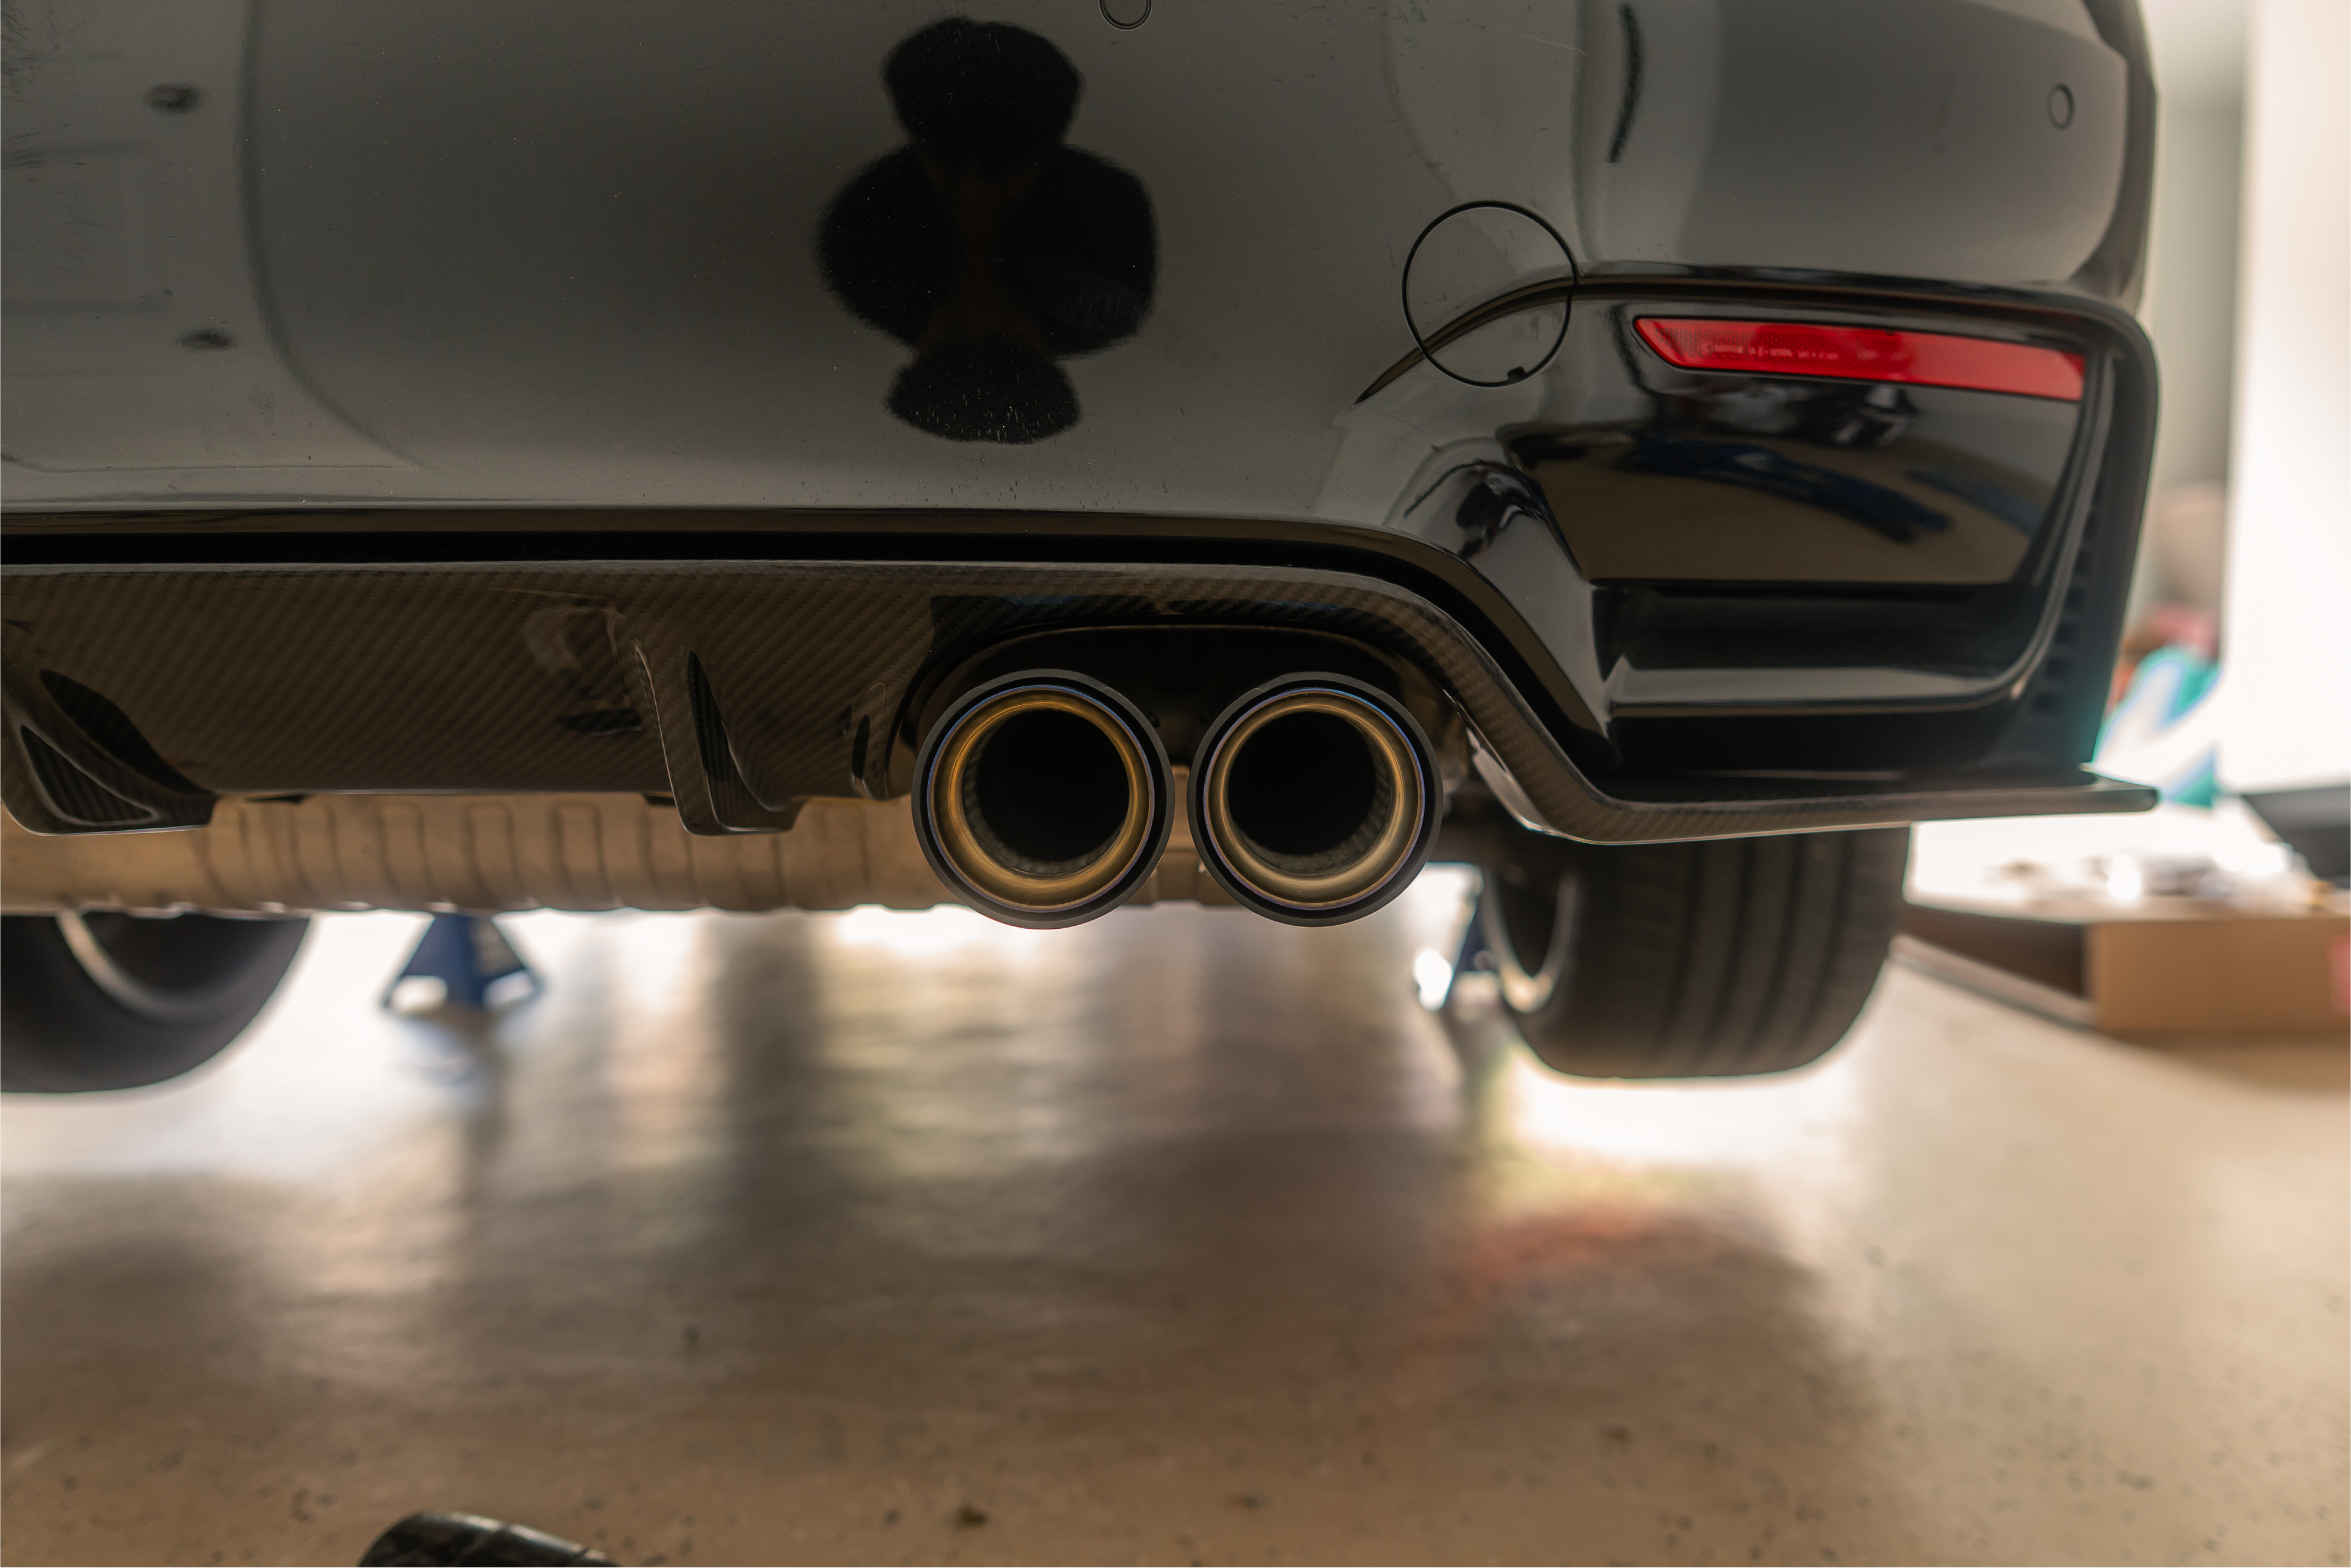

Exhaust Tips
1. Check Fitment
Before installing, test-fit your new tips to ensure the inlet size matches your existing exhaust pipe. Most Bare Carbon tips are clamp-on or bolt-on, designed for easy fitment.
2. Remove Existing Tips (If Applicable)
If you’re replacing old tips, use a lubricant like WD-40 to loosen rusted bolts or connections. Carefully slide or unbolt the old tips and clean the exposed pipe.
3. Slide on the New Tips
Position the Bare Carbon tips onto the exhaust pipe. Adjust the angle and depth to your liking — ensure they're centered, level, and evenly spaced on both sides.
4. Secure the Tips
Tighten the clamp or set screws using an Allen wrench or socket. Make sure they’re snug but avoid over-tightening, which can deform the pipe or damage the clamp.
5. Final Alignment & Check
Step back and inspect from all angles to make sure everything is symmetrical and flush. Let the car idle to check for rattling or vibration — if any, re-tighten as needed.

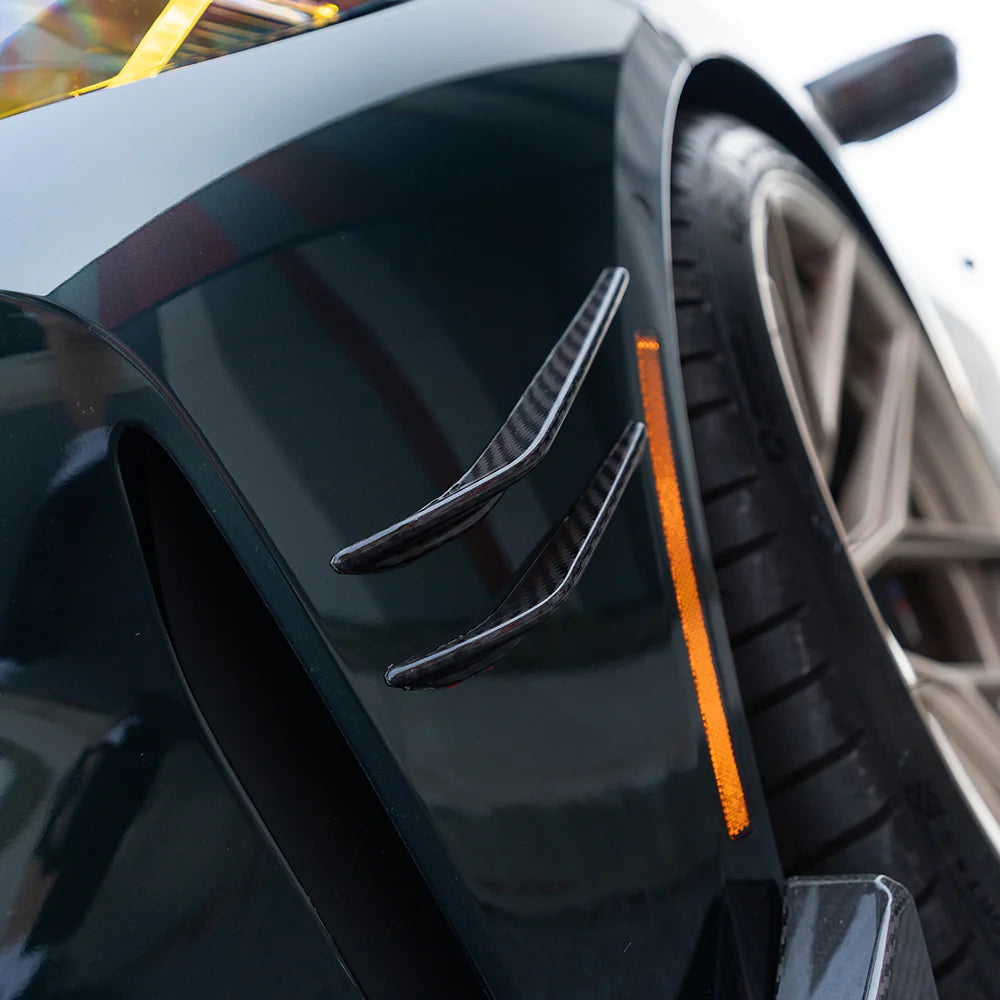
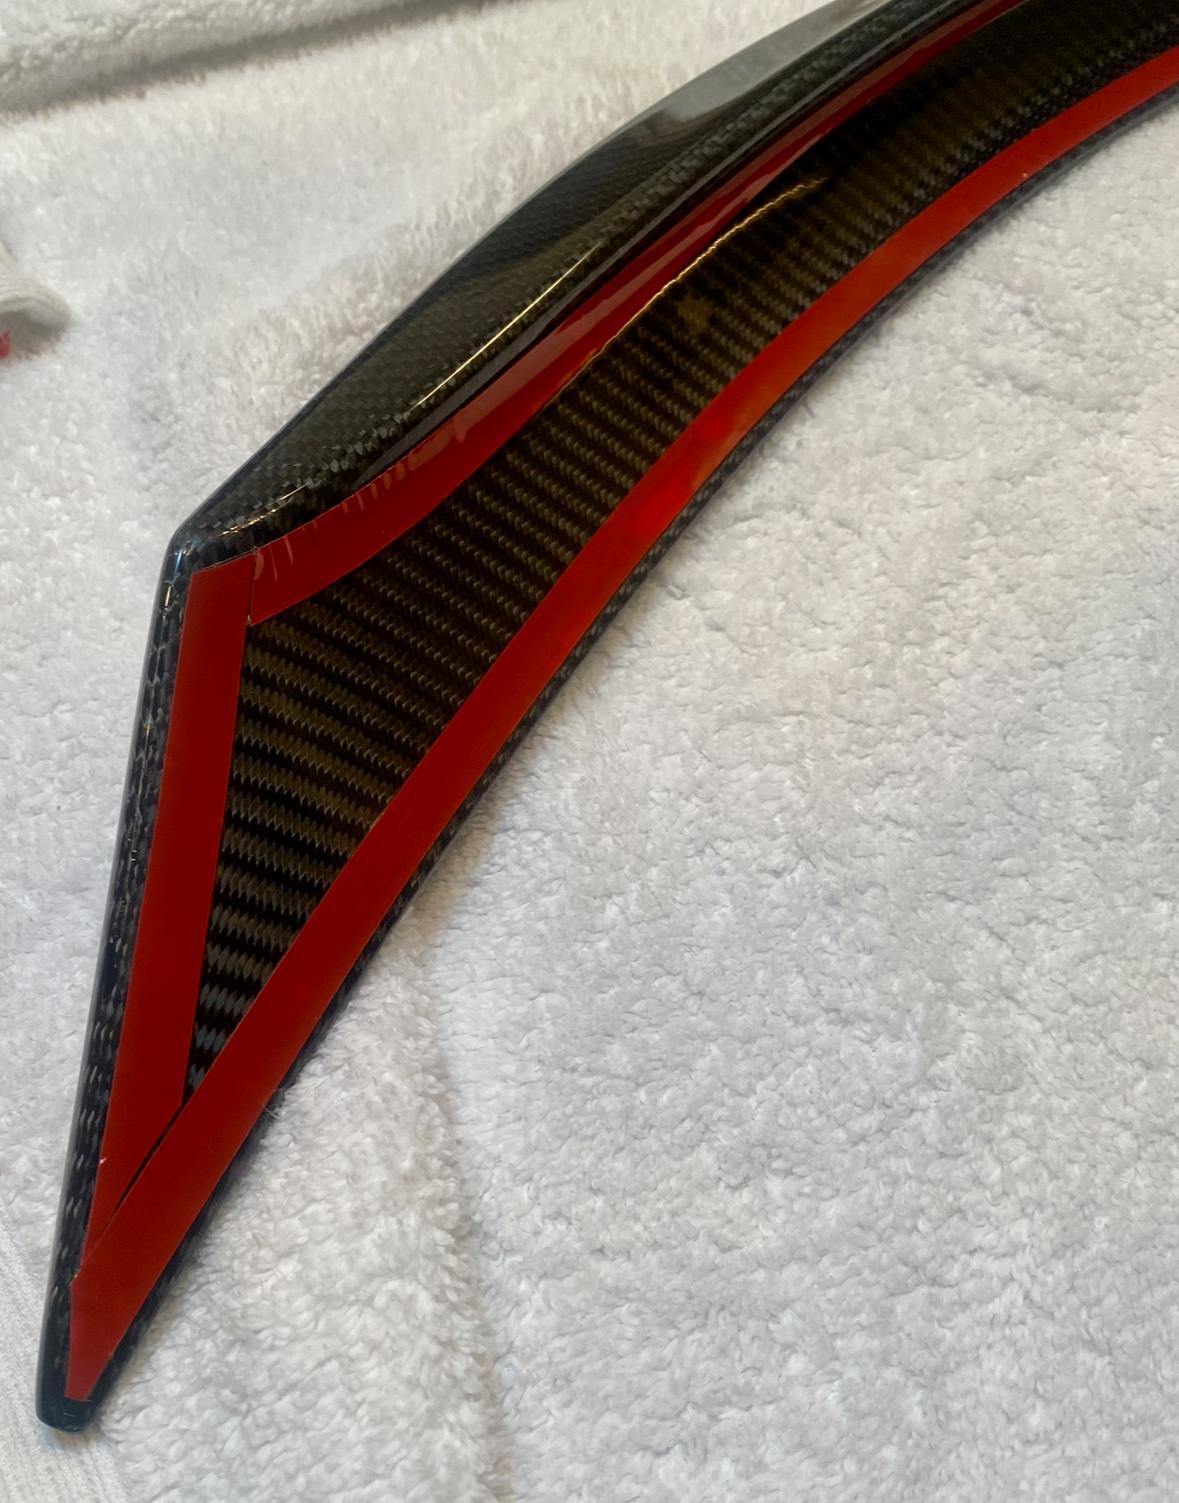
Trims and Canards
1. Test Fitment & Align
Position the trim or canard on the car where it will be mounted. Check that it follows the body lines cleanly and looks balanced. Use masking tape to mark alignment points if needed.
2. Clean the Surface Thoroughly
Use isopropyl alcohol to clean both the vehicle surface and the underside of the part. This removes any oils, dust, or wax that could weaken the bond. Let it dry completely.
3. Peel & Stick
Peel back a small section (2–3 inches) of the tape liner on each end. Align the piece using your tape marks, then slowly remove the rest of the liner while pressing the part into place.
5. Press Firmly
Once the part is fully positioned, apply firm, even pressure across the entire surface focusing especially on edges and corners.